Product details description
Installing fence panels as a DIY project offers homeowners a satisfying
sense of accomplishment, significant cost savings, and full control over the
final outcome. Whether you’re enclosing a backyard, defining property lines, or
creating privacy screens, following a structured, step-by-step approach ensures
professional results without hiring expensive contractors. Key prerequisites
include obtaining necessary permits, selecting appropriate panel materials
(wood, vinyl, metal, or composite), and gathering essential tools such as post
hole diggers, levels, measuring tapes, and power drills before beginning any
physical work.
The first phase involves meticulous planning and layout. Use string lines
and stakes to mark the exact path of your fence, ensuring straight runs and
square corners. Measure distances between posts carefully to match panel widths,
leaving slight gaps (about 1/4 inch) for expansion and contraction. Dig post
holes at least 24 inches deep (or deeper in frost-prone regions) and set posts
in concrete footings for maximum stability. Allow 24–48 hours for concrete to
cure fully before attaching panels, preventing premature shifting or
misalignment.
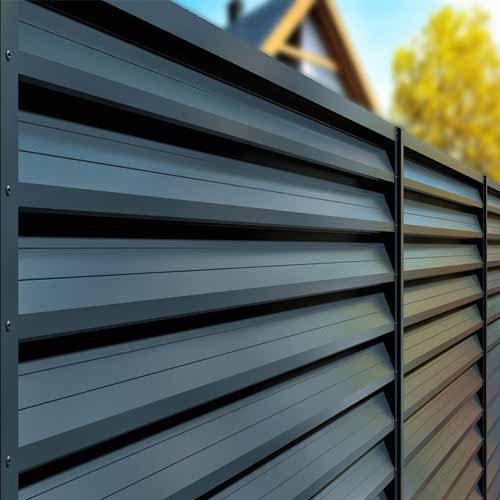
Once posts are secure, begin installing panels starting from one end and
working systematically toward the other. Most panels come with pre-drilled
mounting holes; align these with brackets or rails attached to the posts, then
fasten using galvanized screws or bolts designed for outdoor use. Ensure each
panel is level and plumb before tightening all fasteners, checking alignment
with adjacent panels to avoid visible gaps or overlaps. For added rigidity,
consider installing horizontal rails behind the panels or using corner braces at
junction points.
Final touches elevate the project from functional to polished. Trim excess
material around gates or corners for clean edges, apply weatherproof sealant to
wood panels, and install decorative caps or finials to complete the look.
Regular inspections during the first year help identify settling issues or loose
hardware, allowing timely adjustments. With patience, attention to detail, and
adherence to best practices, even novice DIYers can achieve a fence that rivals
professionally installed ones—enhancing property value, security, and curb
appeal while enjoying the pride of personal craftsmanship.
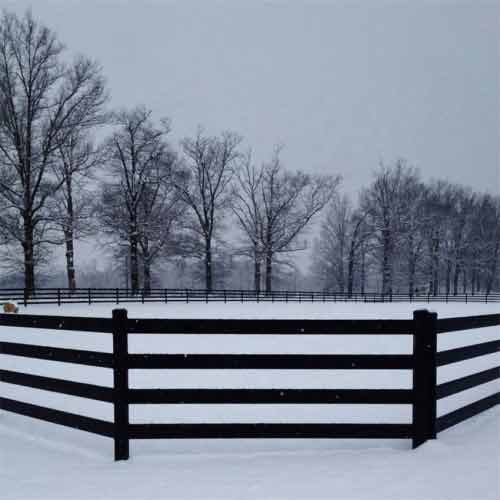
Previous article:
Eco-Friendly Split Rail Fencing
Next article:
Weather Resistance of Split Rail Panels